
Are you all ready to head to Paris for Valentine's Day??
Before
we get started with class today, we have had a couple of questions regarding exactly what
people should post for the Postcards from Paris Blog Hop.
First...you
can make a Post Card showing yourself enjoying the day alone, with a
furiend, or with your Valentine! Just post the picture and link on up to
the Blog Hop!
You
can also do a post showing how you are spending your time while in the City
of Love, and include your Post Card(or snap shot) at the beginning or
end of your post.
Just be creative, have fun with it and we can't wait to see what you come up with!
Now...on to our tutorial!
Disclaimer from Pawfessor Jakey and Mama:
When we started this tutorial we didn't realize how much Basic Pizap had changed. It now requires an "Account" to save your pictures. We understand if this isn't something you want to do, but we wanted to let you know it is possible to delete the account after you have saved your picture. We(Jakey and Mama) haven't had any issues with Pizap spamming us, but we are Pro members. We did create a temporary account in order to do this tutorial and haven't had any issues either.
When we started this tutorial we didn't realize how much Basic Pizap had changed. It now requires an "Account" to save your pictures. We understand if this isn't something you want to do, but we wanted to let you know it is possible to delete the account after you have saved your picture. We(Jakey and Mama) haven't had any issues with Pizap spamming us, but we are Pro members. We did create a temporary account in order to do this tutorial and haven't had any issues either.
With that said, let's get started!
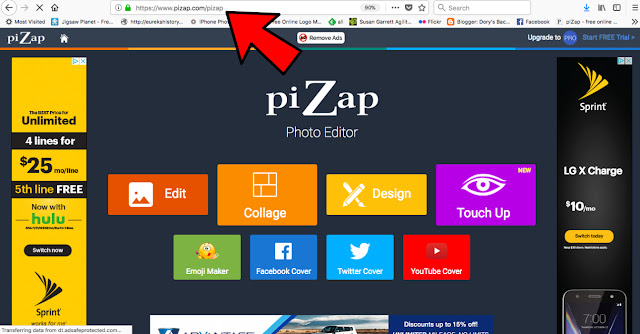
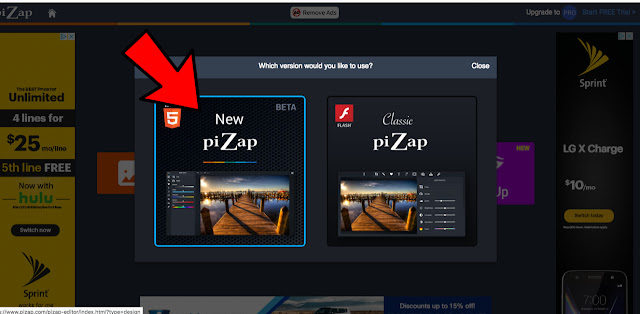
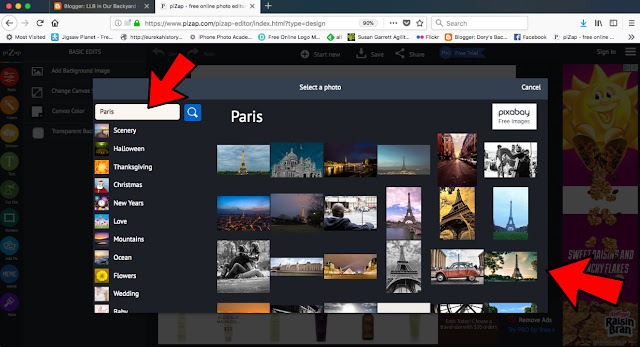
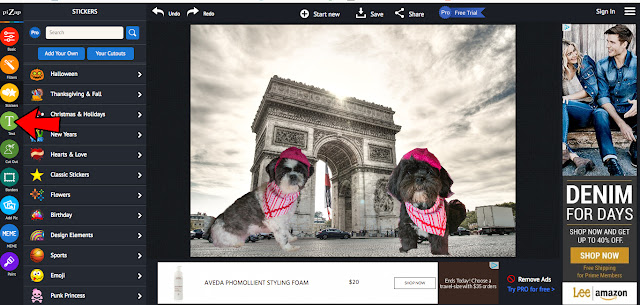
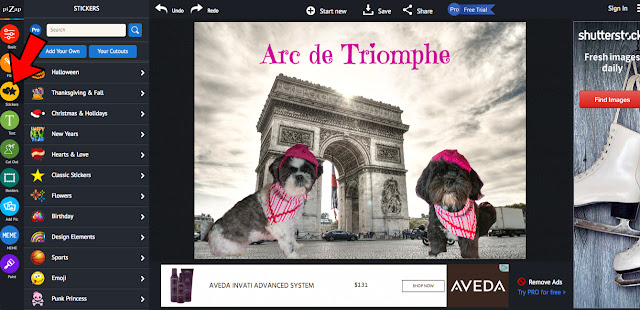
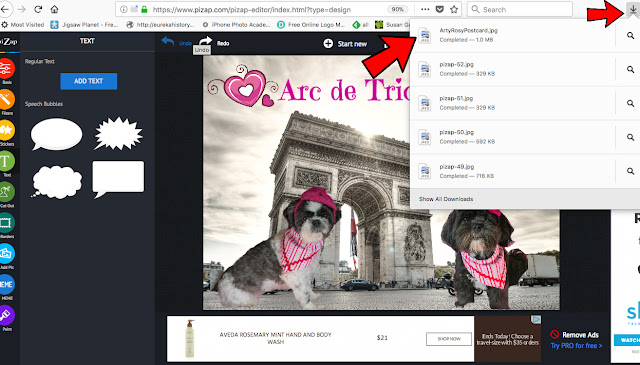
First, head over to Pizap.com
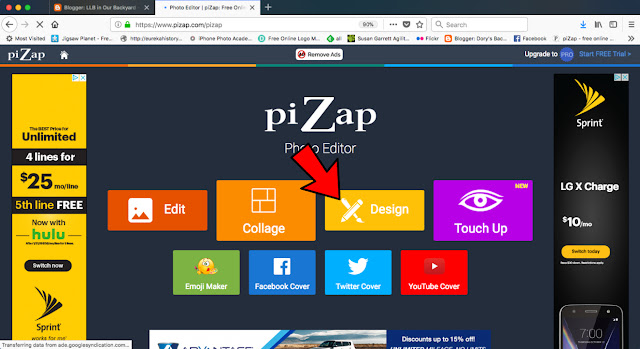
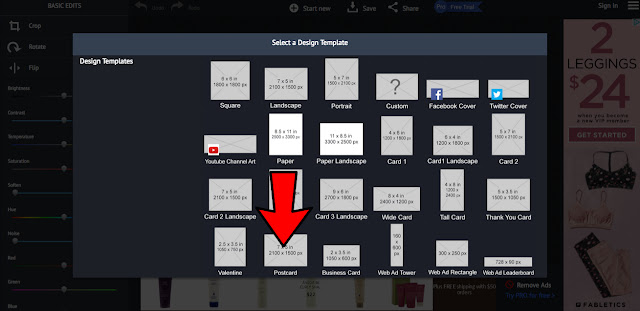
(but feel free to experiment with any template)
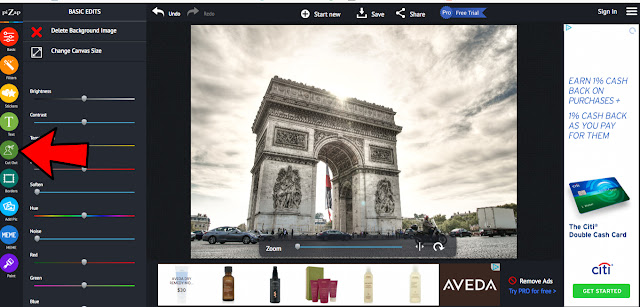
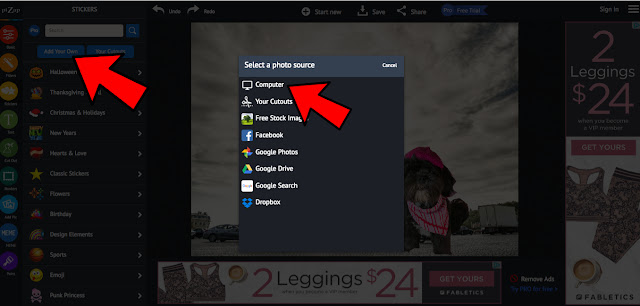
After you have the background the way you want it, let's add our subjects! Click the Cut Out icon on the left.

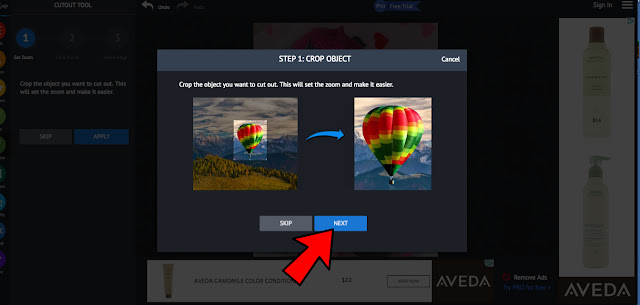
(you can also skip this if your photo is already a good size)
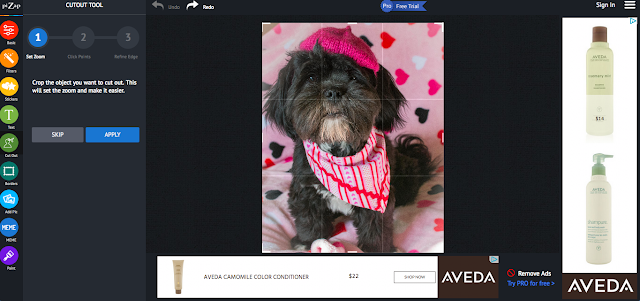
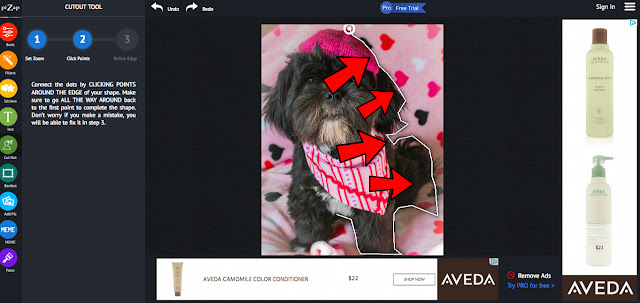

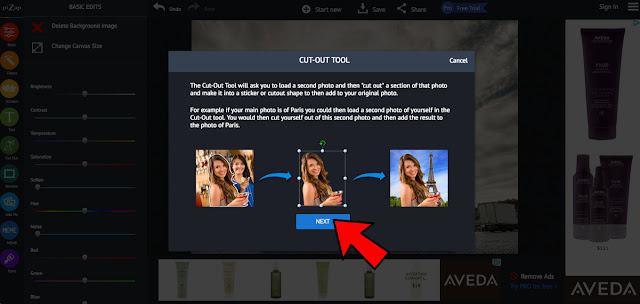
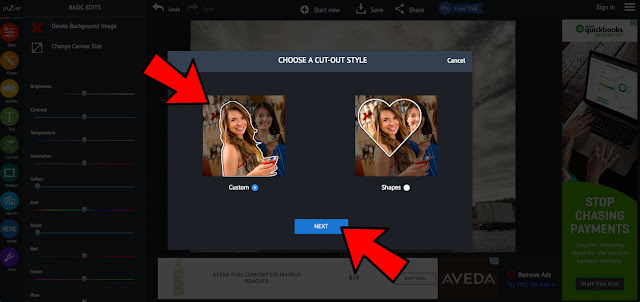
Now...We are going to use a slightly different way to add Arty! We keep cut outs of our pack to use in different Blogville events, this time we are going to add our own cut out.
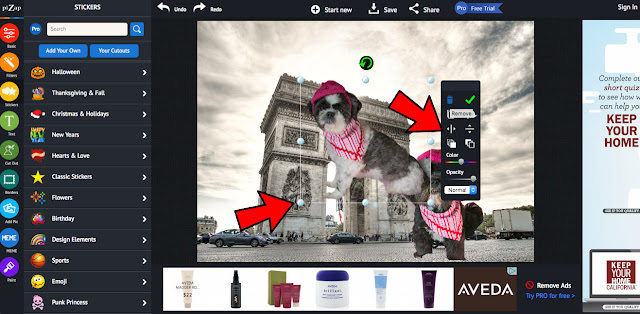
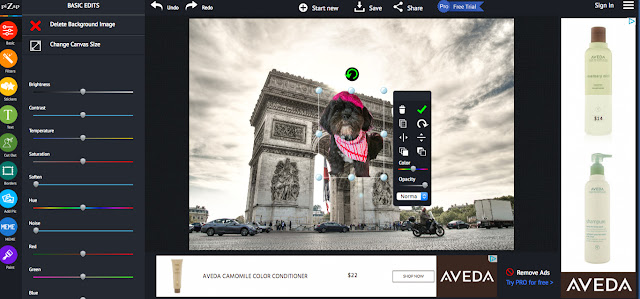
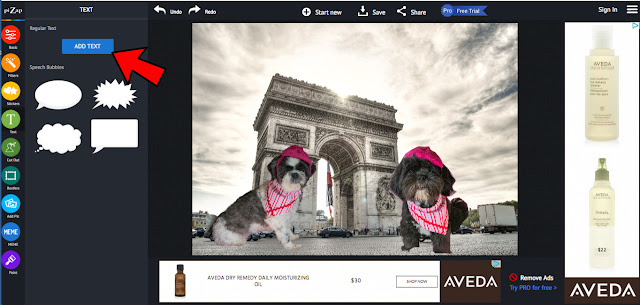
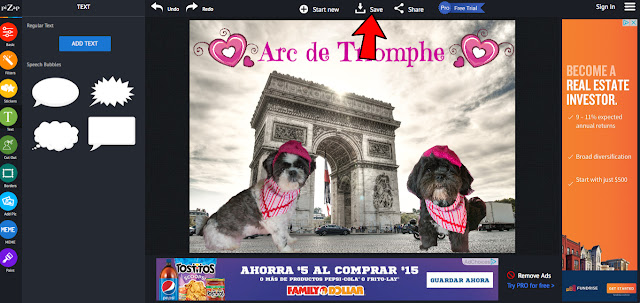
We also added text to let everyone know where we are!
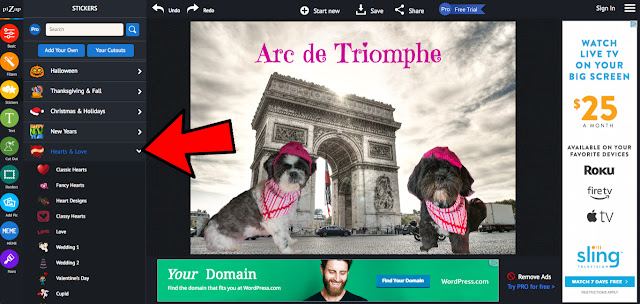
We clicked the Text icon on the left side.

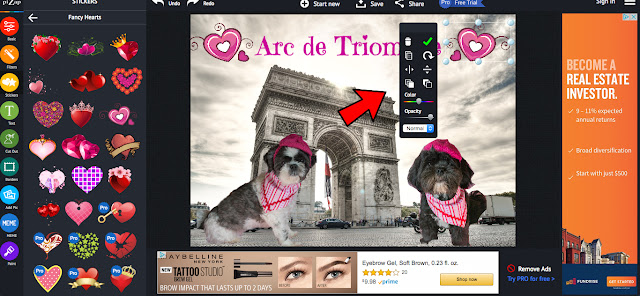
We used the Emily's Candy font, but if you click on the Font box, Pizap has bunches and bunches of fonts to choose from!

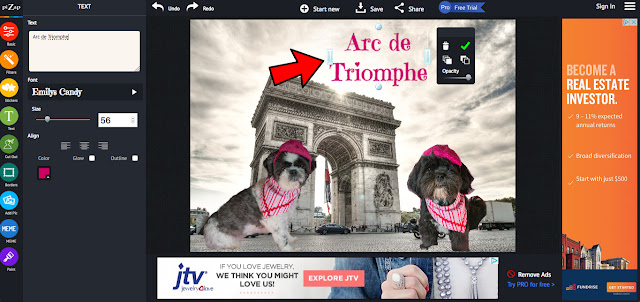
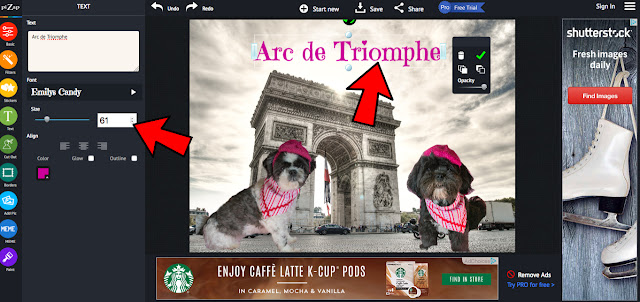
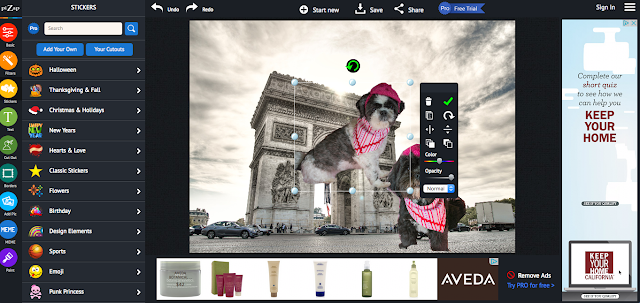
Then you can adjust the size of the font with the little toggle buttons next to the font size.
Now it's time to save our masterpiece!
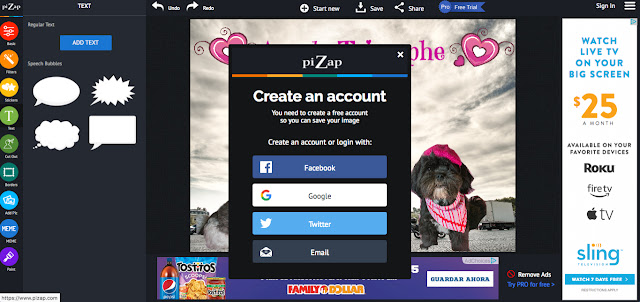
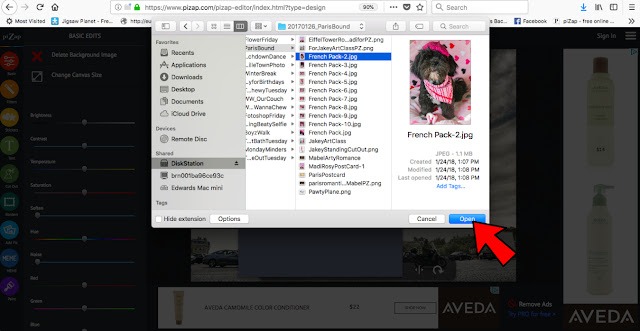
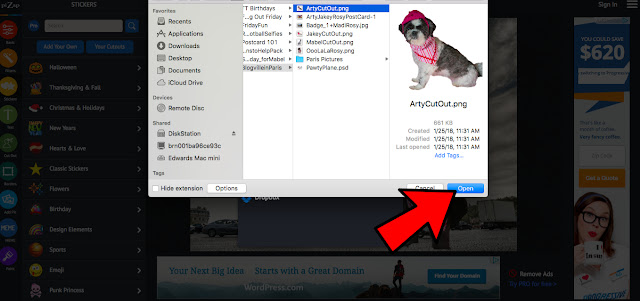
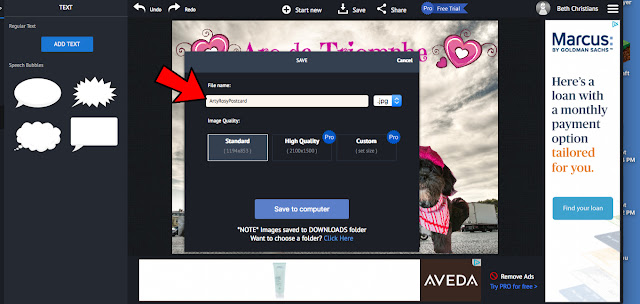
After you create an account it will bring you to this screen
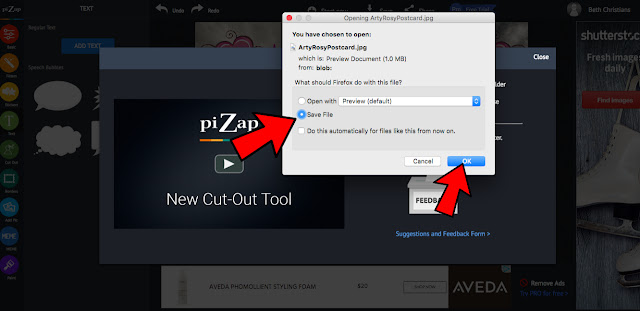

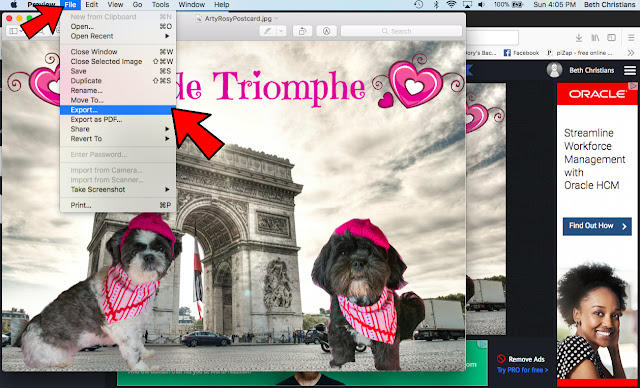
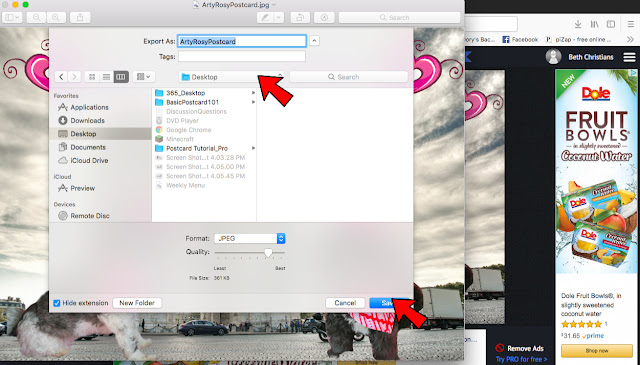
We have a MAC, so Mama opened the post card by double clicking the Arty Rosy Post Card file

Still confused? Ask questions in the comments or email us and we will do our best to answer them! Mama and I(Jakey) would also be happy to make a post card for you and email it back to you in time for the blog hop!
For those who would like to schedule their Valentine Day post, we should have the Linkytool added to our Hoppity Page later this afternoon or tomorrow!
Mom Kim here - just an fyi - I do not have any account with them but I am able to save my pictures to MY computer - just don't mark the "save to PIZAP". That has worked so far.
ReplyDeleteWe found the same.
DeleteToodle pip!
Bertie.
We need to get to work on our post cards!
ReplyDeleteda hardest part is to save it in a folder the mama will remember LOL therefore my dad will make the card for me today ;O))))
ReplyDeleteHari OM
ReplyDeleteFabulous work Jakey! this looks similar to my Fotor program - the only thing I can't do in that is the cutout function, which I have been attempting to do in Paint - but it doesn't have the fine-feathering option this has - so I may go and investigate!!! Like Kim and the beagles, I a pretty sure it should be possible just to save the file without necessarily doing so in Pizap itself - with Fotor I over-ride the 'account' thing, so will let you know if I agree with Kim on this. Hugs and wags, YAM-aunty xxx
Hari OM
ReplyDeleteOkay, I'm back! tried with the 'beta' version you show here, Jakey and that definitely requires a signup in one form or other. For those not willing to do this, opt for the 'classic' Pizap. There is not quite the same flexibility the newer version has and the background options are quite different - you need to be a bit more creative yourself - but you can definitely save to computer without having to signup in any way. Have fun efurrybuddy!!! Yxx
Hari OM
ReplyDeleteTHIRD OPTION; use the beta version of Jakey's lesson here; then PRT SC (print screen button at top of your keyboard) and then 'control V' that into Paint (or similar) and crop to the image you have created on Pizap - I did this, because getting the Paris image is imperative for this event! Yxx
Oh this is soooooo exciting, going to PARIS wiv CHESTER!!!!!
ReplyDeleteI am hopping from paw to paw!
Loves and licky kisses
Princess Leah xxx
Wonderful tutorial! We used to use PicMonkey all the time for their fonts, but now you have to subscribe there too, and Fotor has really limited what you can do without an account. All the free programs are tightening up I think.
ReplyDeleteGreat tutorial
ReplyDeleteWhat a great tutorial! Thank you!
ReplyDeleteI have not been in pizap in months, just went in and i could use classic and the free stuff, but there is very little free stuff left and save, but not the beta.. that is a really good price for a year, but i already have 2 others i paid for... there is a way to make post cards in PicMonkey if anyone has a membership there.
ReplyDeleteJakey you are the bestest Professor I've ever had and we thank you for your hardwork putting this tutorial together for us!
ReplyDeleteHugs madi your bffff and mom
Grreat tutorial, thanks!
ReplyDeleteWhat a great tutorial Jakey. We will have to get our mom working on our postcards soon.
ReplyDeleteThat was a great lesson, y'all sure are talented!
ReplyDeleteGreat lesson Jakey!
ReplyDeletehugs
Hazel & Mabel
Jakey, you make it look so easy. Mom will give it a try and see if she can be smart and clever like you!!!
ReplyDeleteWoos - Lightning, Misty, and Timber
Great tutorial! You make it look so easy!
ReplyDeleteCammie!
Great tutorial, Jakey and Assistant. I find Pizap harder to work in than PicMonkey, but probably just because I use Picmonkey so much. You have inspired me to work more in Pizap and learn it better! Also, I read the comment about a postcard option in PM but didn't see it. WIll have to go back and look again.
ReplyDeleteGreat tutorial Pawfessor Jakey & Mama. Our Mama usually uses da photoshop buts dis website looks pawretty neat!
ReplyDeletexoxo,
Matt & Matilda
Pawfessor Jakie! Great tutorial. You did a great job of taking us through all the details so that all of us can do it!
ReplyDeleteDo you know what? For weeks, I kept wondering why my feed labeled "Da Boyz..." had no posts. I didn't notice that a new feed called "LLB" had appeared. So, I've been absent from your blog, and I missed it! I'm so glad that I figured out this mystery!
Thank you for all the time you put into this tutorial. It must have taken a lot of time and patience. You did a great job
ReplyDeleteI will save this tutorial to use later. Unfortunately, we are in the middle of packing and moving so I barely have time to blog and visit. Maybe Blogville will do something fun for Easter or spring and we can join in the excitement.
ReplyDeleteWhat a great tutorial guys!
ReplyDeleteI always wanted to make my own postcard!
Thanks!
Purrs
Marv
OMD, Jakey, that was a FABulous tutorial!!! Very good instructions and no confusion at all! I do loves the Pizap!
ReplyDeleteThanks Jakey!
Kisses,
Ruby ♥
pees: Ma was doin' some happy dances last night...heheheeeee
Seriously the BEST tutorial EVER!!! Your mama should be a teacher! Thank you for sharing...haven't used PiZap in a really long time...so had some fun with it!
ReplyDeleteI'm ready to go ~ I got my postcard and post DJing done and my Valentine and I are ready for LOVE. Paris here we come.
ReplyDeleteSweet William The Scot